Tofu! It’s one of those ingredients that I’ve always been a bit curious about—like the mysterious neighbor you see every day but rarely talk to. But once you get to know it, oh boy, the culinary world opens up.
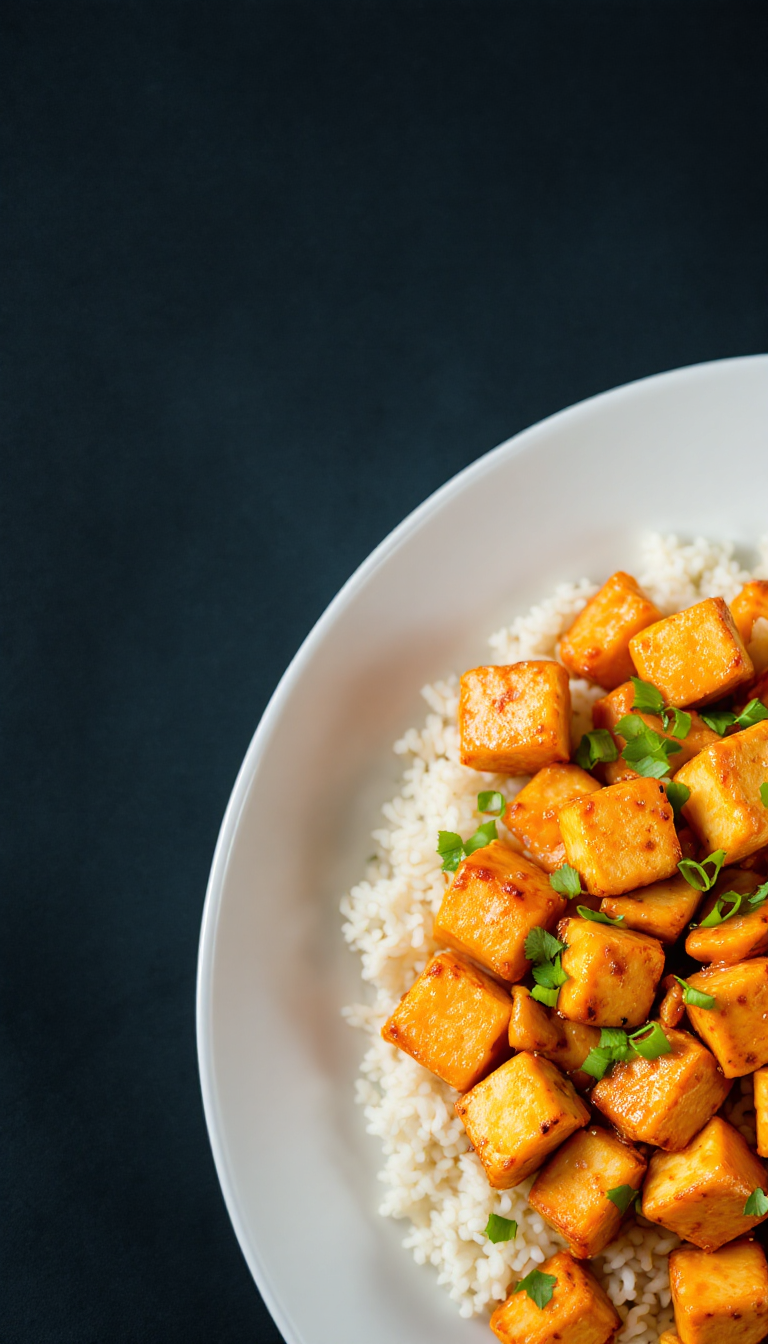
This Easy Honey Garlic Tofu recipe, for instance, has become my go-to for those nights when I’m craving something both sticky and savory. It’s like a hug in a dish, with just the right kick of sweetness and a hint of garlic that leaves you wondering why you don’t cook with tofu more often. Kind of like that time I tried bungee jumping—unexpectedly thrilling!
Plus, it’s ridiculously easy to make, which is perfect for those post-work days when you just want to unwind with something delicious. Speaking of unwinding, did you see the latest episode of that one show? Anyway, back to the tofu.
This dish pairs beautifully with some fluffy rice or even a crisp salad if you’re feeling fancy. Trust me, once you try it, you’ll be hooked too.
Steps
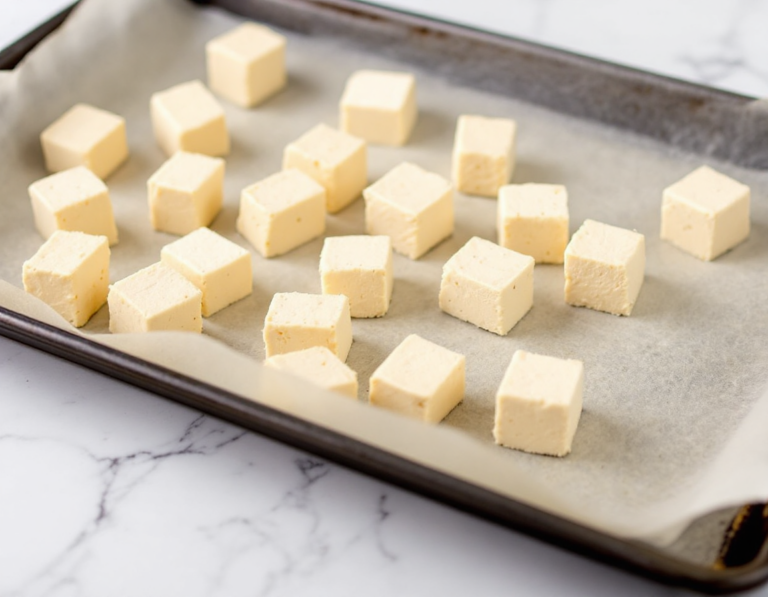
- Preheat your oven to 400°F (200°C). Remove the tofu from its packaging, drain the excess liquid, and pat it dry with a towel. Cut the tofu into 1-inch cubes and place them in a large bowl.
- Add soy sauce to the bowl with the tofu cubes and toss until evenly coated. Sprinkle in the cornstarch followed by the breadcrumbs, gently shaking the bowl to coat the tofu without breaking it.
- Arrange the tofu cubes on a baking sheet lined with parchment paper, ensuring they are not touching each other. Bake for 30-35 minutes, or until the tofu is golden brown and crispy.
- While the tofu is baking, prepare the sauce. Mince garlic and sauté it in a small pan with 1 tablespoon of neutral oil for 2-3 minutes until lightly browned.
- Add soy sauce, honey or maple syrup, rice vinegar, sesame oil, and 2 tablespoons of water to the pan. In a separate bowl, whisk cornstarch with another 2 tablespoons of water, then add to the pan and simmer on low heat until the sauce thickens.
- Once the tofu is done baking, toss it with the prepared sauce until thoroughly coated. Optionally garnish with sesame seeds and serve over rice with steamed broccoli, or enjoy on its own.
Ingredients
- 1 tablespoon low sodium tamari or soy sauce
- 1 block (16 ounces) extra firm tofu
- 1 tablespoon corn starch
- 3 tablespoons gluten-free breadcrumbs
- 1 tablespoon neutral oil (for sautéing garlic)
- 2 tablespoons soy sauce (for sauce)
- 1 tablespoon honey or maple syrup
- 1 tablespoon rice vinegar
- 4 tablespoons water (2 tablespoons for sauce, 2 tablespoons for cornstarch mixture)
- 1 tablespoon sesame oil
- Minced garlic (quantity to taste)
- Optional garnish: sesame seeds
FAQ
- Do I need to press the tofu for this recipe?
- Pressing the tofu is not necessary for this sesame tofu recipe. The dish turns out well without pressing, saving you time. However, pressing can make the tofu crispier and ensure it cooks evenly, so it’s an optional step if you prefer extra crispiness.
- How should I store and reheat the sesame tofu?
- You can store the prepared sesame tofu in the refrigerator for up to three days. For reheating, it’s best to use the oven at 200°F for about 10 minutes to regain crispiness. While the microwave is an option, it may make the tofu a bit soggy, though the flavor will remain intact.
- Does tofu naturally contain sesame?
- No, tofu itself does not contain sesame. It is made from soybeans. In this recipe, sesame flavor is added through the use of sesame oil, giving the dish its distinct taste.
- What are some serving suggestions for sesame tofu?
- This sesame tofu pairs well with rice and steamed broccoli, creating a simple buddha bowl. It can also be served in a stir fry or alongside vegan fried rice for a delicious meal.
- Can I use regular soy sauce instead of low sodium?
- Yes, you can use regular soy sauce, but keep in mind that it may make the dish saltier. If you do, consider adding a bit of water to the sauce to balance the saltiness.
Tips
- Ensure Dryness: Before cutting the tofu into cubes, drain and pat it dry thoroughly to remove excess moisture. This step is crucial for achieving optimal crispiness.
- Non-Touching Arrangement: When placing the tofu on the baking sheet, make sure the pieces do not touch each other. This allows the heat to circulate evenly and ensures each piece gets perfectly crispy.
- Post-Bake Saucing: Wait to add the sauce until after the tofu has been baked. This prevents the sauce from burning and keeps the tofu crispy.
- Pressing Optional but Beneficial: While pressing the tofu isn’t mandatory for this recipe, doing so can significantly enhance the crispiness by removing more moisture. If you have the time, this step can be worth it for extra-crispy results.
Equipment
- Tofu Press – If you want to press the tofu for a crispier texture.
- Parchment Paper – For lining the baking sheet to prevent sticking.
- Baking Sheet – If you don’t already have a suitable one for baking the tofu.
- Saute Pan – For preparing the sauce on the stove.
- Mixing Bowls – For tossing the tofu with soy sauce, cornstarch, and breadcrumbs.